GIT GUD
AT GITHUB
Stop dragging and dropping files like a peasant. Learn the command line. It's fast, it's raw, and it works.
Git Setup
Install Git (Windows)
Download and run the Git for Windows installer. Defaults are fine for beginners.
Run the downloaded .exe and follow the installer. After installation, verify:
You can install the GitHub CLI to make authentication easier:
Install Git (macOS)
Recommended: install via Homebrew. Alternatively, use Xcode Command Line Tools.
Configure Identity
Set your name and email so commits are attributed to you.
Verify your configuration:
Authenticate with GitHub
Use the GitHub CLI to authenticate (recommended). It guides you through a web-based login and makes HTTPS pushes painless.
- Select GitHub.com.
- Choose HTTPS for Git operations (recommended).
- Choose Login with a web browser and follow the code flow (enter code at github.com/login/device).
The Workflow
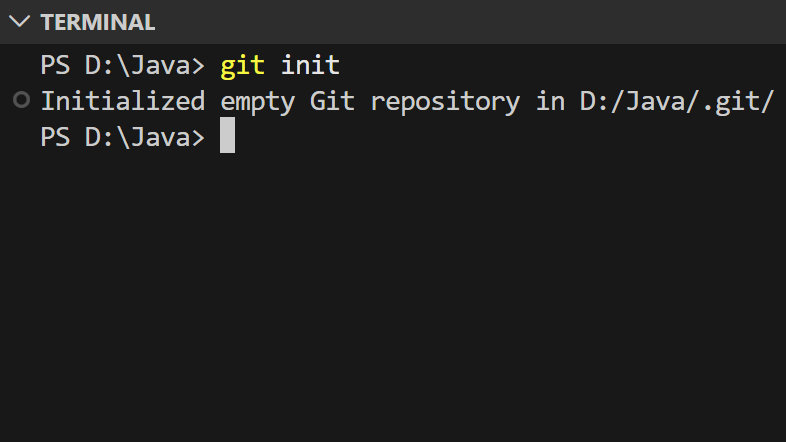
Initialize
Create a new local repository. This tells Git to start watching your folder.
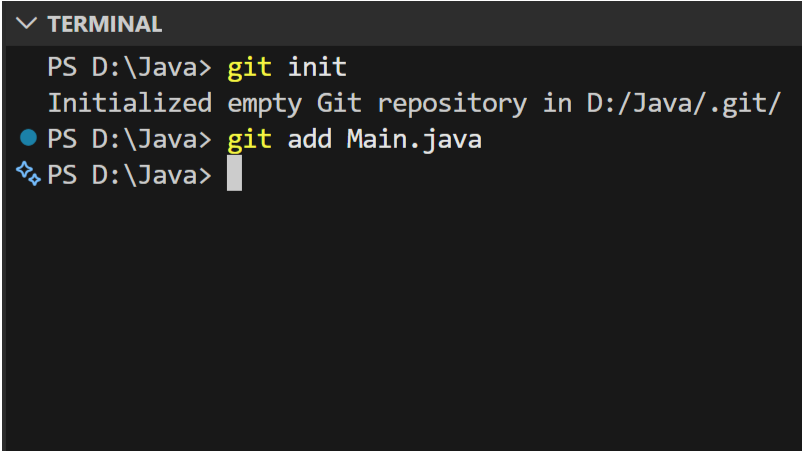
Staging
Select the files you want to save. The . adds everything.
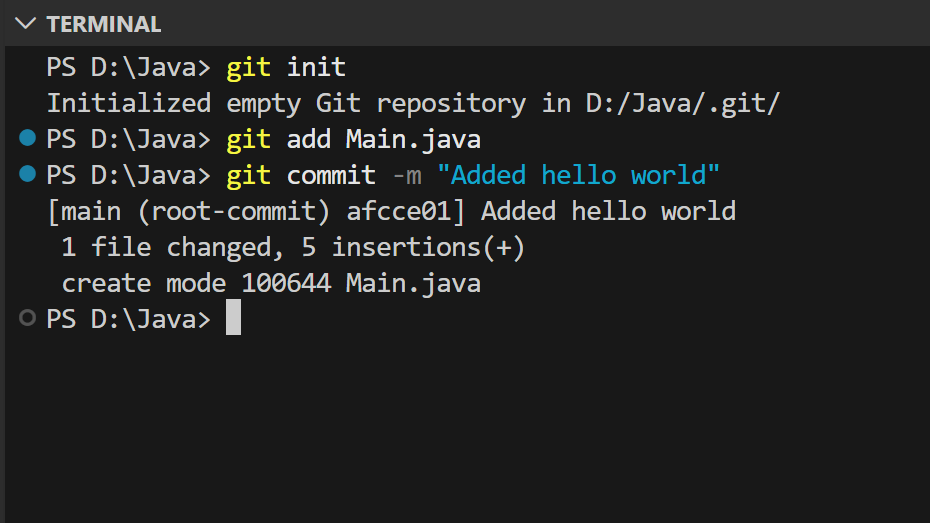
Commit
Wrap your changes in a package with a label. Be descriptive.
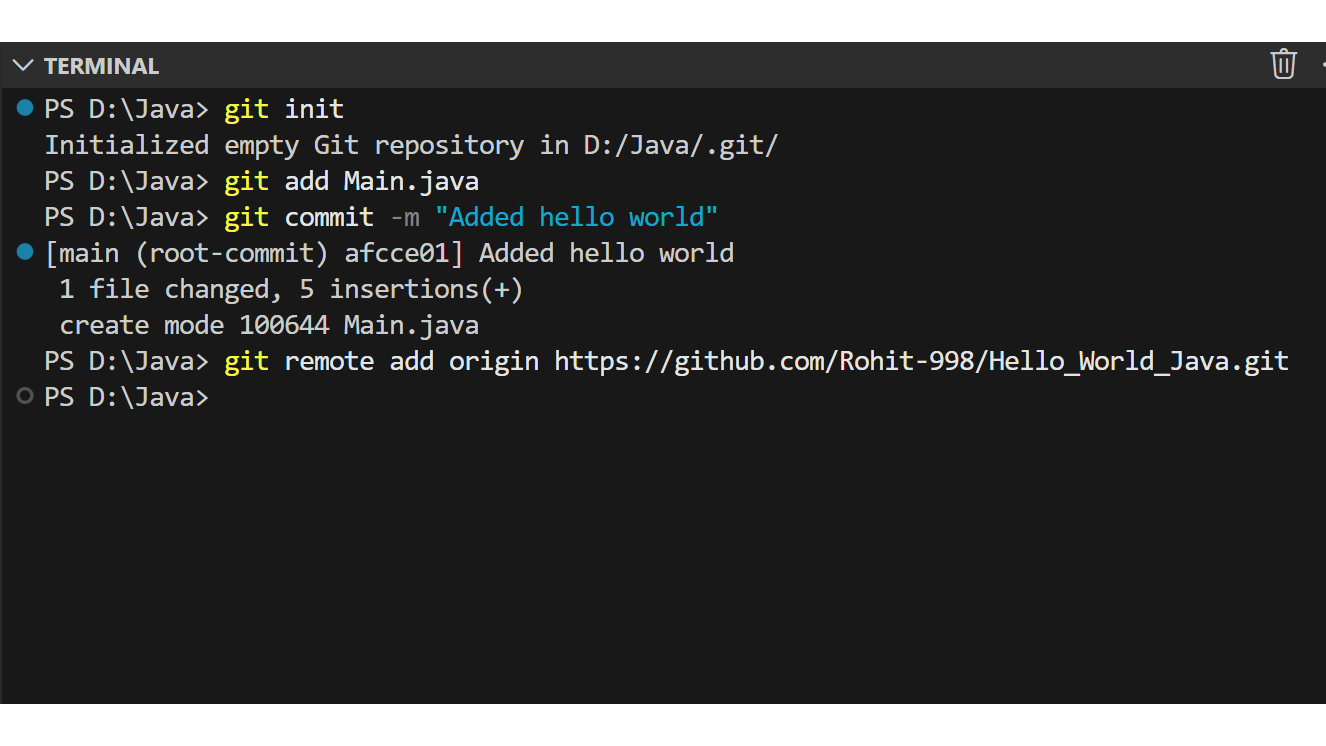
Connect
Link your local repo to the specific GitHub URL. This builds the bridge.
Liftoff
Send your commits to the cloud. The -u remembers where you pushed for next time.
JAVA EDITION
Scenario: You wrote your first Hello World and need to flex it.
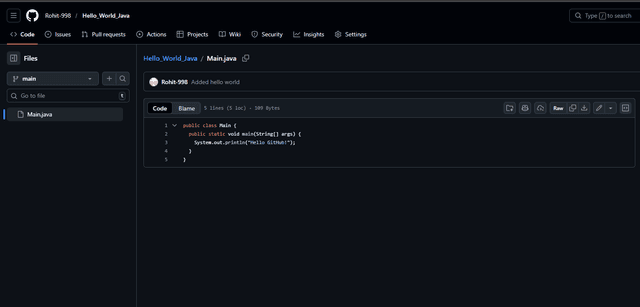
You have a file named Main.java.
public class Main {
public static void main(String[] args) {
System.out.println("Hello World");
}
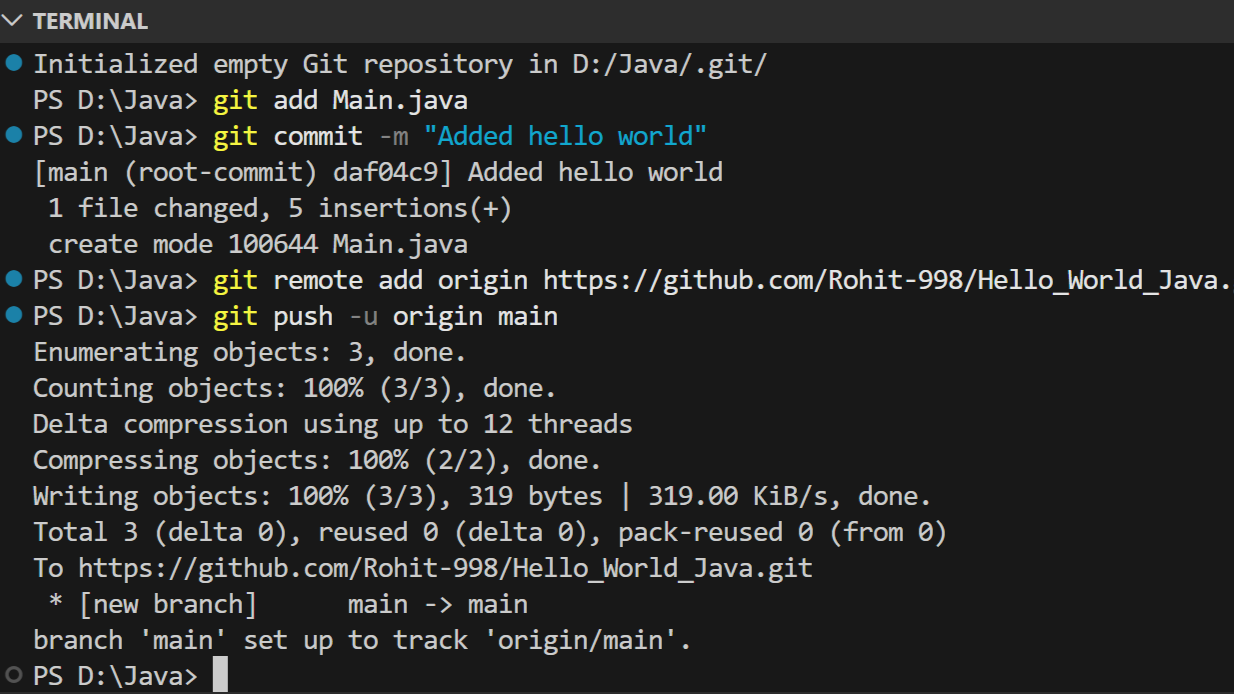
}1. Initialize
Turn this folder into a repository.
2. Stage File
Tell git to track your Java file.
3. Commit
Save the version history.
4. Connect Remote
Point your local folder to your GitHub URL.
5. Push Code
Send it to the internet.
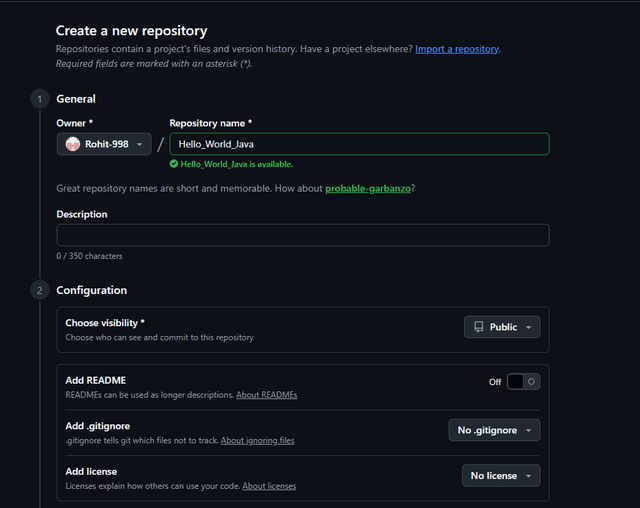
Create a new repository
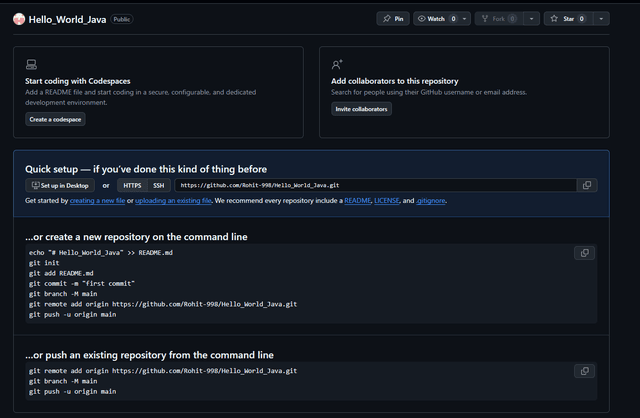
Empty repository
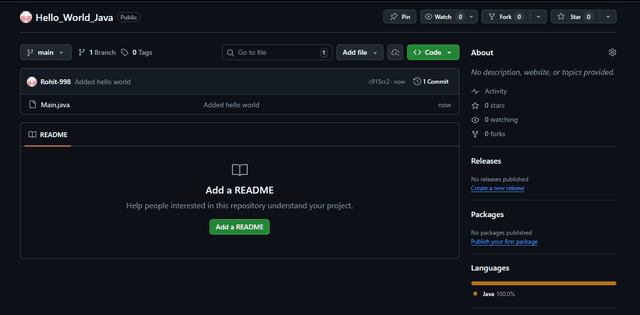
Initial commit
Pushed files
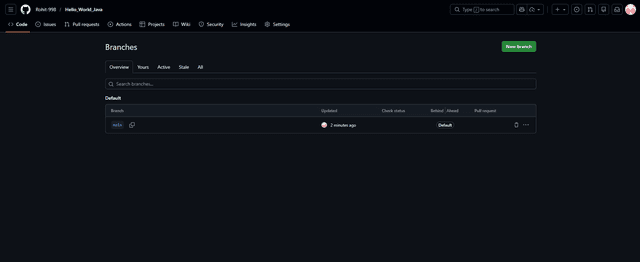
Branches
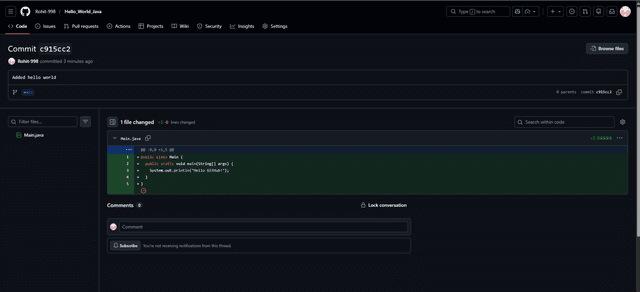
Committed changes